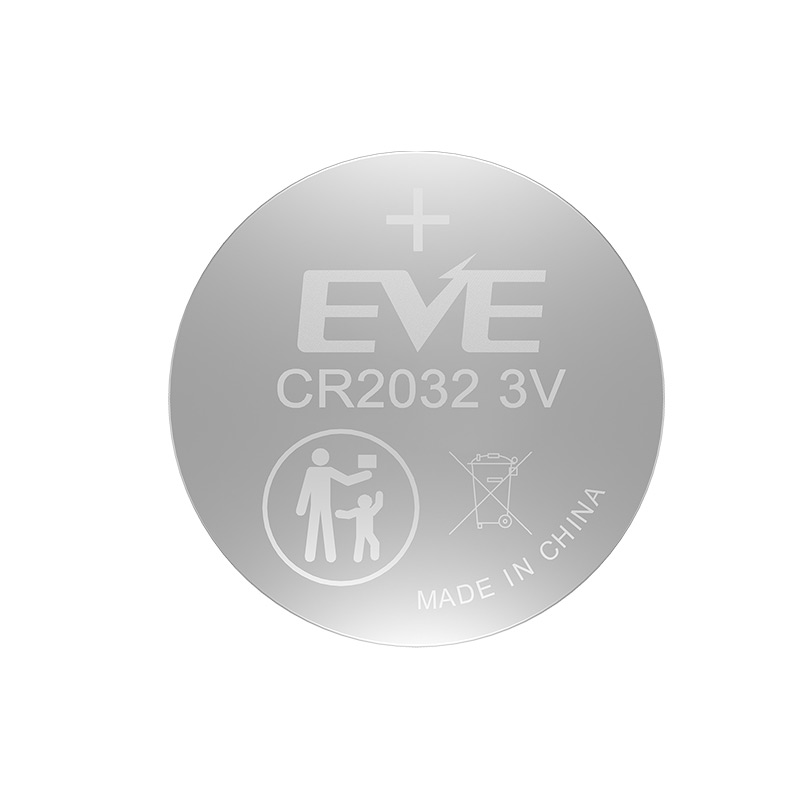
Button batteries are incredibly popular due to their compact size, cost-effectiveness, and long service life. Commonly found in car keys, TWS earbuds, smartwatches, and countless other small electronics, they play a critical role in daily life. However, when replacing them, many people are unsure how to check the positive and negative poles correctly. In this guide, we'll cover everything you need to know to quickly and accurately determine the polarity of a button battery.
Before diving into the methods for identifying battery polarity, it's important to understand that button batteries are designed with clear indicators. Typically, one side is marked with a "+" to denote the positive terminal, and the other side is the negative terminal. Recognizing these markings is essential to ensure the device functions properly after battery replacement.
The most straightforward method to identify the positive side of a button battery is by looking for the "+" symbol. Manufacturers usually print this symbol clearly on one side of the battery. In most cases, the positive side will also appear flat and smooth, displaying critical information like:
Battery model number
Manufacturer's name
Rated voltage
Tip: If you see a "+" symbol on the smooth side, you have located the positive terminal. The opposite, usually the slightly convex or rounded side, is the negative terminal.
Although not as common, some button batteries are also marked with a "-" symbol to indicate the negative side. If you spot the "-" symbol, it unmistakably marks the negative terminal. Typically, this side lacks detailed printing compared to the positive side.
If a button battery only features a model number and voltage on one side without a "+", it’s often assumed that this printed side is positive, and the opposite side is negative.
In rare cases, a button battery may not have clear polarity markings. Don’t worry—several reliable methods can help you figure it out:
The surface design offers important clues about the battery's polarity:
Flat Surface: The smooth, flat side of the battery is typically the positive pole.
Curved Surface: The slightly curved or convex side is usually the negative pole.
This structural difference provides a quick visual method to determine polarity without any tools.
Another way to differentiate the poles is by examining the battery’s surface texture:
Concave and Convex Patterns: If one side has noticeable dimples, ridges, or textured points, it is almost always the negative side.
Smooth Surface: A completely smooth and polished side indicates the positive pole.
This visual cue is especially helpful for batteries used in specialized equipment where markings may wear off over time.
For complete certainty, especially when dealing with unmarked or worn-out batteries, using a multimeter is the most accurate method.
Here’s a simple step-by-step guide:
Set the Multimeter to DC Voltage Mode: Turn the dial to the appropriate DC voltage setting (V with a straight line).
Connect the Test Leads:
Place the red probe on one side of the battery.
Place the black probe on the opposite side.
Read the Display:
If the voltage reading is positive, the red lead is touching the positive pole and the black lead is on the negative pole.
If the voltage reading is negative, the red lead is touching the negative pole and the black lead is on the positive pole.
Using a multimeter not only confirms the polarity but can also help you quickly assess whether the battery is still in good working condition.
Identifying the correct positive and negative sides of a button battery is more important than it may seem. Incorrect installation can cause:
Device malfunction
Potential battery leakage
Permanent damage to electronic circuits
Always double-check the polarity before inserting a button battery into your device. Whether you rely on the "+" symbol, inspect the surface features, or verify with a multimeter, following these steps ensures a smooth and safe battery replacement process.
By mastering these simple techniques, you’ll not only extend the life of your devices but also avoid costly mistakes. Next time you handle a button battery, you’ll know exactly what to look for!
Next:What Is a Hybrid Solar Inverter? Benefits, Functions & Types Explained
Previous:How Long Does a Lithium Trolling Motor Battery Last? Run-Time Explained
Contact Person: Miss. Elsa Liu
| WhatsApp : | +8617763274209 |
|---|---|
| Skype : | +8617763274209 |
| WeChat : | 17763274209 |
| Email : | Elsa@lifepo4-battery.com |